 Save
Save The first time I made these, my husband walked into the kitchen and asked why I was making cheese pancakes for dinner. He stood there watching me scoop tiny dollops onto the baking sheet, genuinely confused. Thirty minutes later, he ate half the batch before I could even photograph them. Now they are his go-to late night snack.
Last summer, I hosted a book club and served these alongside my usual veggie platter. Everyone ignored the vegetables and hovered around the cottage cheese chips instead. My friend Sarah, who swears she hates cottage cheese in any form, took the recipe home that same evening. Sometimes the weirdest experiments become the biggest hits.
Ingredients
- 2 cups cottage cheese: Full fat gives better flavor but low fat still works beautifully for draining
- 1/2 teaspoon garlic powder: This is the backbone of the savory flavor profile
- 1/2 teaspoon onion powder: Balance the garlic perfectly without any chopping required
- 1/2 teaspoon smoked paprika: Adds that gorgeous golden color and subtle smoky depth
- 1/4 teaspoon black pepper: Freshly cracked makes all the difference here
- 1/2 teaspoon sea salt: Enhances all the other seasonings without overwhelming
- 1 tablespoon grated Parmesan cheese: Totally optional but adds a salty umami punch
- 1 teaspoon dried herbs: Oregano, thyme, or rosemary depending on your mood
Tired of Takeout? 🥡
Get 10 meals you can make faster than delivery arrives. Seriously.
One email. No spam. Unsubscribe anytime.
Instructions
- Drain the cottage cheese:
- Set it in a fine mesh sieve and press gently with a spoon to remove excess moisture. This step is crucial for getting crispy chips instead of soft pancakes.
- Blend the seasonings:
- Combine the drained cottage cheese with all your seasonings in a food processor. Pulse until mostly smooth but still slightly textured for better mouthfeel.
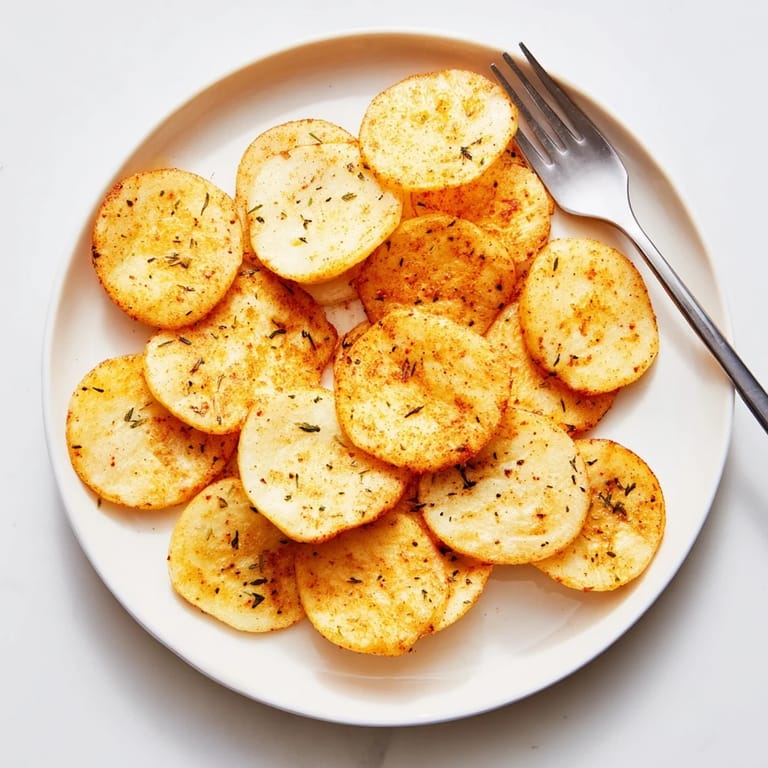
- Scoop and flatten:
- Drop heaping teaspoons onto your prepared baking sheet, spacing them an inch apart. Press each dollop into thin rounds about 2 inches wide.
- Bake until golden:
- Slide them into a 350°F oven and bake for 25 to 30 minutes. You want deep golden edges and a firm center that looks slightly puffed.
- Let them cool completely:
- This is where the magic happens. They will crisp up significantly as they cool on the baking sheet. Do not skip this step or you will think they failed.
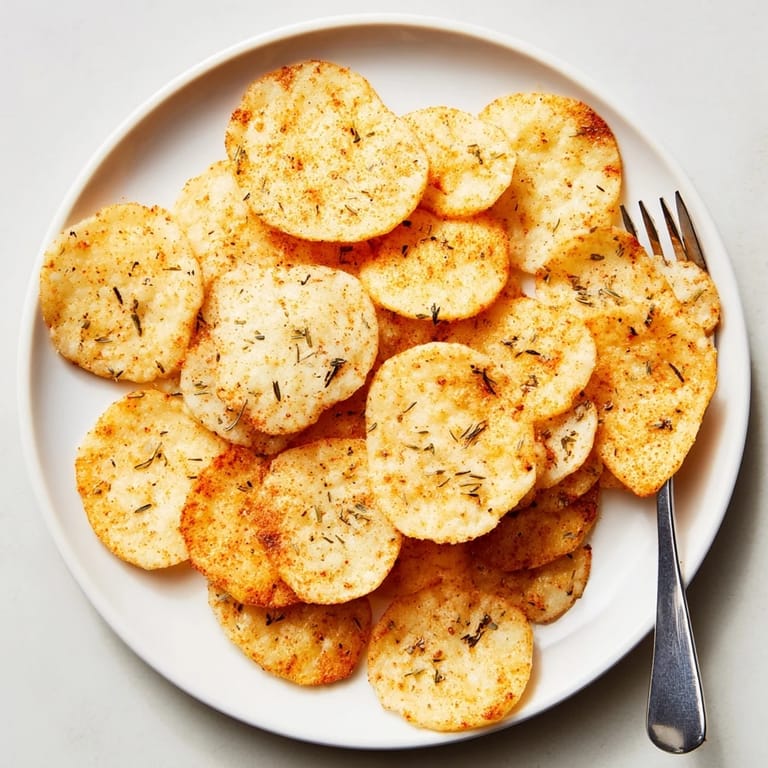 Pin it
 My daughter now requests these for her after school snack instead of regular potato chips. Watching her little friends try them for the first time is always entertaining. They are so skeptical until that first crunch happens.
Getting The Right Consistency
The mixture should hold its shape when scooped but not be stiff or dry. If it is too wet, the chips will not crisp properly. If it is too dry, they will become hard and brittle instead of pleasantly crunchy.
Flavor Variations
Switch up the seasonings entirely with ranch powder, everything bagel seasoning, or even cinnamon and a touch of maple syrup for a sweet version. The cottage cheese base is remarkably adaptable.
Storage And Serving
These are best enjoyed the same day but can be stored in an airtight container for up to 3 days. If they lose their crunch, a quick 5 minute bake at 350°F will bring them back to life.
- Let them cool completely before storing to prevent sogginess
- Layer parchment paper between stacked chips if you need to store many
- Serve with plain Greek yogurt for an extra protein dip
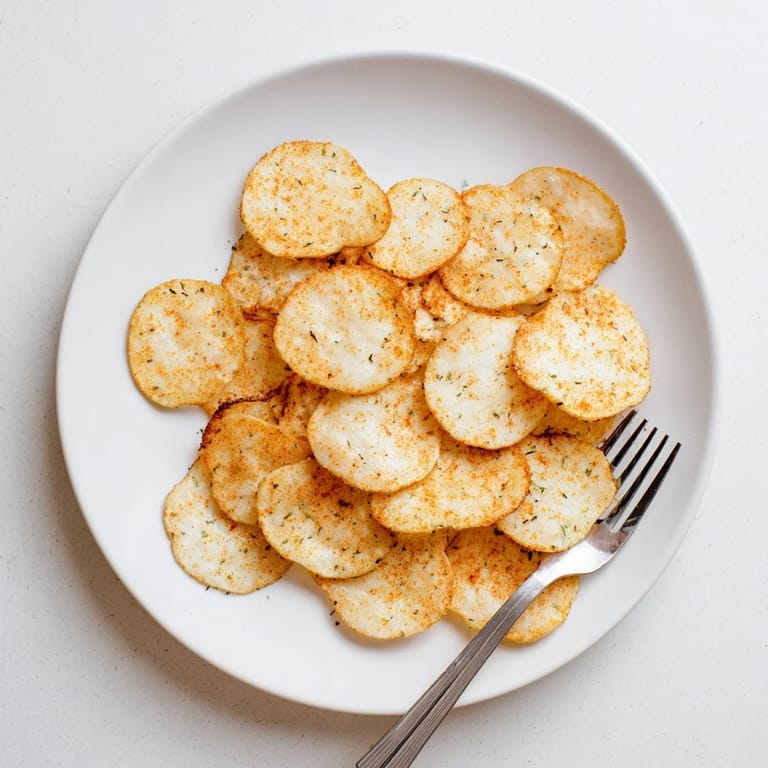 Pin it
 Who knew cottage cheese could transform into something so satisfyingly crunchy? Sometimes the simplest ingredients surprise us the most.
Frequently Asked Questions
- → Why do I need to drain the cottage cheese?
Removing excess moisture prevents the chips from becoming soggy and helps them achieve that satisfying crunch. The drier the mixture, the crispier your final chips will be.
- → Can I make these without a food processor?
A food processor works best for achieving the right texture, but you can mash the cottage cheese with a fork and mix thoroughly with the seasonings. The results may be slightly more textured but still delicious.
- → How do I know when the chips are done?
Look for deep golden brown edges and a firm texture. They should feel dry to the touch. Remember that chips continue to crisp as they cool, so remove them when lightly golden rather than waiting for them to look completely crispy in the oven.
- → How long will these stay crispy?
These taste best fresh but can be stored in an airtight container for up to 3 days. If they lose some crunch, simply re-crisp in a 350°F oven for 3-5 minutes before serving.
- → Can I freeze the chip mixture?
Yes! Scoop the mixture onto a parchment-lined baking sheet and freeze until solid, then transfer to a freezer bag. Bake from frozen, adding 2-3 minutes to the baking time.