 Save
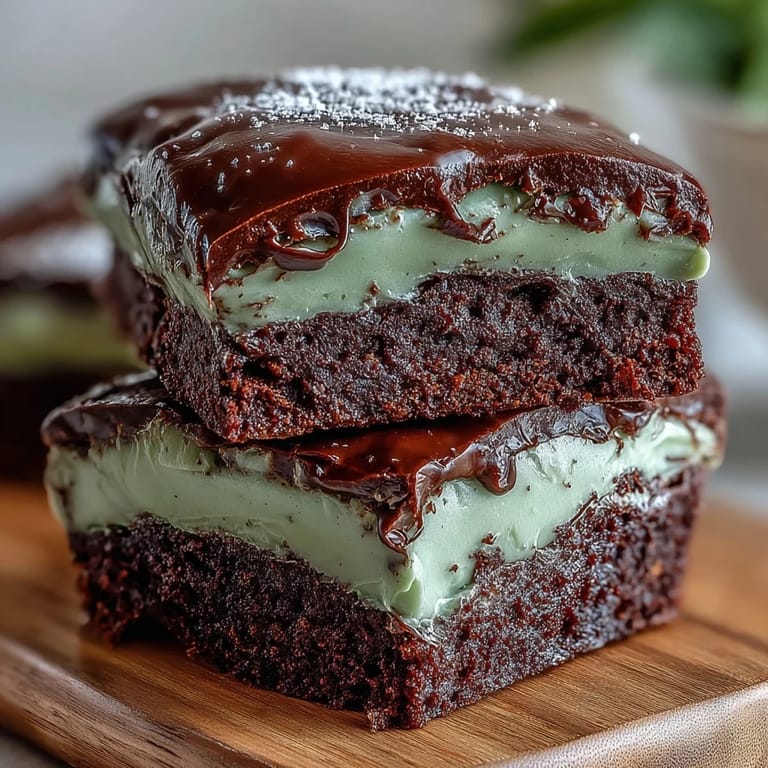
Save Last March, my coworker brought in a batch of these shamrock brownies to our office potluck, and I watched people light up the moment they bit into one—that fudgy chocolate center with the bright green icing just hit different. I'd never considered pairing holiday shapes with brownies before, but something about the combination felt genius, like finding out your two favorite things actually belong together. By the end of the day, I was asking for the recipe, already imagining making them for my own St. Patrick's Day gathering. What started as simple curiosity turned into an annual tradition I genuinely look forward to.
I made these for my friend's small St. Patrick's Day dinner party last year, worried the icing might look artificial or too sweet, but when everyone arrived and saw them on the dessert table, the energy shifted. One person took a bite and immediately asked if I'd made them professionally—that moment of genuine delight made me realize the care you put into cutting shapes and choosing the right green actually matters. It became the conversation starter everyone came back to, and suddenly I was that friend known for these brownies.
Ingredients
- Unsalted butter: Use good quality butter if you can—it's the foundation of that rich, fudgy texture that makes people ask for seconds.
- Granulated sugar: Don't skip this or swap it out; it creates the right crumb structure and helps the brownies stay moist.
- Large eggs: Room temperature eggs mix more smoothly and create a better texture than cold ones straight from the fridge.
- Vanilla extract: Real vanilla makes a noticeable difference in the depth of flavor.
- Unsweetened cocoa powder: This is your chocolate star, so choose one you actually enjoy tasting on its own.
- All-purpose flour: Measure it by spooning into a cup and leveling off—scooping directly can pack it too tight.
- Salt and baking powder: These seem small but prevent the brownies from tasting flat or one-dimensional.
- Powdered sugar: Sift it if you have lumps; smooth icing spreads so much more beautifully.
- Softened butter for icing: Leave it on the counter for 20 minutes rather than microwaving, which keeps the icing from getting greasy.
- Milk: Use whole milk if you have it; the richness matters in the icing.
- Green food coloring: Start with just a drop or two—it's stronger than you think, and you can always add more.
Tired of Takeout? 🥡
Get 10 meals you can make faster than delivery arrives. Seriously.
One email. No spam. Unsubscribe anytime.
Instructions
- Melt the butter and build the base:
- Heat butter over low heat until just melted, then stir in sugar, eggs, and vanilla until the mixture is smooth and slightly pale. This gentle approach prevents scrambled eggs and creates a silky batter foundation.
- Fold in the dry ingredients:
- Add cocoa powder, flour, salt, and baking powder, mixing only until you don't see any streaks of flour. Overmixing develops gluten, which makes brownies tough instead of fudgy.
- Bake with care:
- Pour into your parchment-lined pan and bake at 350°F for 25 to 30 minutes—they should look barely set on top with maybe a slight jiggle in the center. A toothpick pulled out with a few moist crumbs, not wet batter, means they're perfect.
- Cool completely before cutting:
- Let them sit in the pan on a rack until room temperature; warm brownies crumble when cut, and you want clean shamrock edges. Patience here pays off in presentation.
- Whip the icing to fluffy perfection:
- Beat softened butter with powdered sugar, milk, and vanilla until light and spreadable, then add green food coloring drop by drop until you hit the shade you want. Taste it—icing should make you smile, not pucker.
- Cut and frost with confidence:
- Use a metal shamrock cutter, wiping it clean between cuts for crisp edges, then spread icing generously over each shamrock. If you want extra flair, sprinkle green sanding sugar or sprinkles on top while the icing is still soft.
 Pin it
 There's something special about serving food that's both delicious and thoughtful, and these brownies sit at that intersection perfectly. My neighbor teared up when I handed her a batch after she'd been having a rough week—not because they're magical, but because the combination of chocolate comfort and the effort of shaping them into something cheerful made her feel seen. That's when I understood these aren't just St. Patrick's Day treats; they're a way to say I was thinking of you while making something good.
Timing and Temperature Tips
The oven temperature matters more than you might think—too hot and the edges crisp while the center stays gooey, too cool and they bake unevenly and take forever. I learned to use an oven thermometer after my first batch came out with overcooked edges and an underdone middle, and now I always preheat for at least 15 minutes so the heat is stable. If your oven runs hot or cool, adjust by 25°F and keep a close eye starting around the 23-minute mark.
The Shape Matters More Than You'd Think
I once tried cutting squares and calling it done, thinking the shape didn't matter, but then I saw how the shamrock cutter transformed them from ordinary to something worth noticing and photographing. The shape tells people you cared enough to make them special, not just because you had to, but because the occasion deserved it. It's a small detail that takes almost no extra time but changes the entire impression.
Storage and Scraps
Keep them in an airtight container at room temperature—they'll stay fresh and fudgy for up to three days, though they rarely last that long in my house. The brownie scraps from cutting are honestly my favorite part; I crumble them over vanilla ice cream or eat them straight from the cutting board with zero guilt. They're also perfect for turning into homemade brownie brittle or crushing over cream cheese frosting for a quick dessert hack.
- Don't toss those scraps; they're premium snacking material and too good to waste.
- You can make these brownies up to two days ahead and frost them the morning of your event for stress-free entertaining.
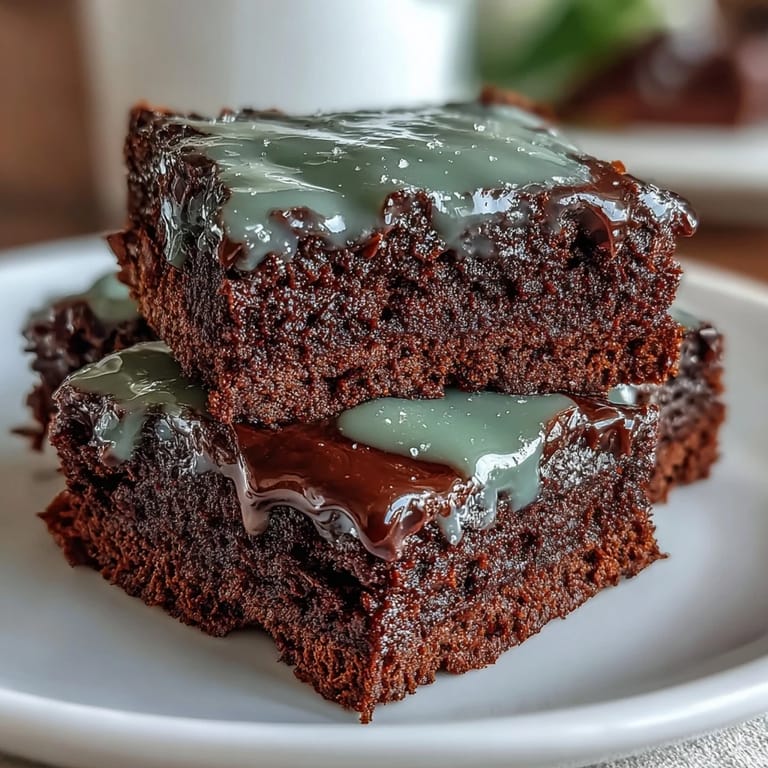
- If your green icing looks too bright or neon, dial back the food coloring slightly next time—a softer sage green often looks more sophisticated than a bright lime.
 Pin it
 These brownies remind me that the simplest recipes often become the most meaningful ones, especially when you put a little thought into presentation and timing. Every time I make them, I think about that office potluck and how something as straightforward as chocolate and green icing created a moment people remembered.
Frequently Asked Questions
- → What ingredients create the fudgy texture?
Butter, eggs, and cocoa powder combine to give the brownies their rich, moist, and fudgy texture.
- → How do I achieve the green icing color?
Add drops of green food coloring gradually into the smooth powdered sugar and butter mixture until the desired shade is reached.
- → What is the best way to cut the brownies into shapes?
Use a metal shamrock-shaped cookie cutter on cooled brownies, wiping it clean between cuts for best results.
- → Can I add mix-ins to the batter?
Yes, mini chocolate chips or chopped nuts can be folded into the batter to add extra texture.
- → How should these be stored to maintain freshness?
Store the brownies in an airtight container at room temperature for up to three days to keep them fresh.
- → Can the icing be prepared ahead of time?
The icing can be mixed in advance and refrigerated; bring it to room temperature and stir before spreading.