 Save
Save My cousin's graduation party was supposed to be intimate, but somehow seventy people showed up. I'd promised desserts, and there I was at midnight, suddenly thinking: what if instead of running around with a dozen platters, I just made one gorgeous board that could sit in the center of everything? That night, I pulled together whatever cake and treats I had, scattered them with berries, and watched people gravitate toward it like it was the main event. It absolutely was.
There's something about watching someone's face light up when they approach a dessert board that makes all the fussing worthwhile. I still remember my friend Maya standing there with her phone out, asking if she could post it—not because it was complicated, but because it looked like love had been carefully arranged on wood.
Ingredients
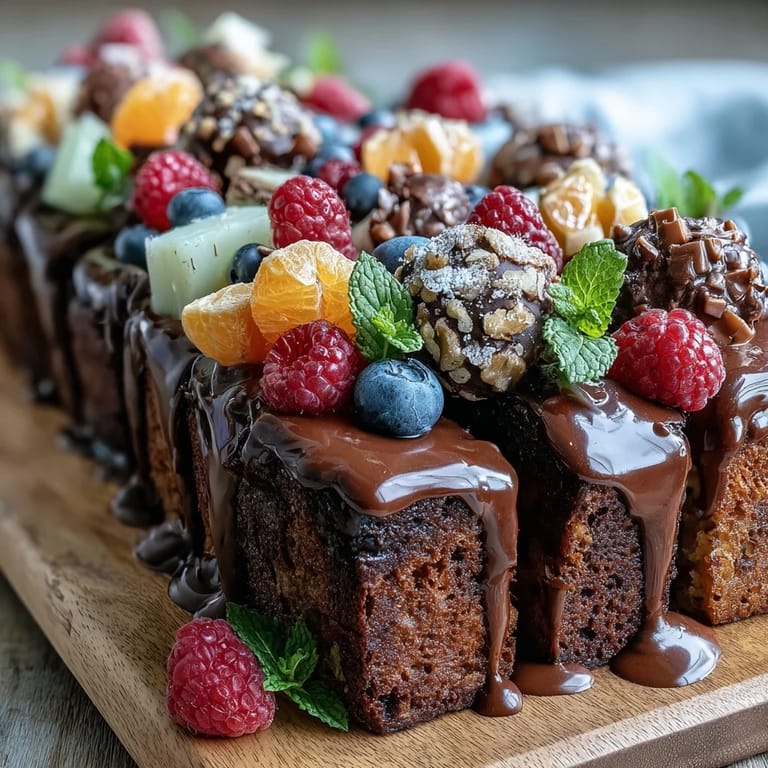
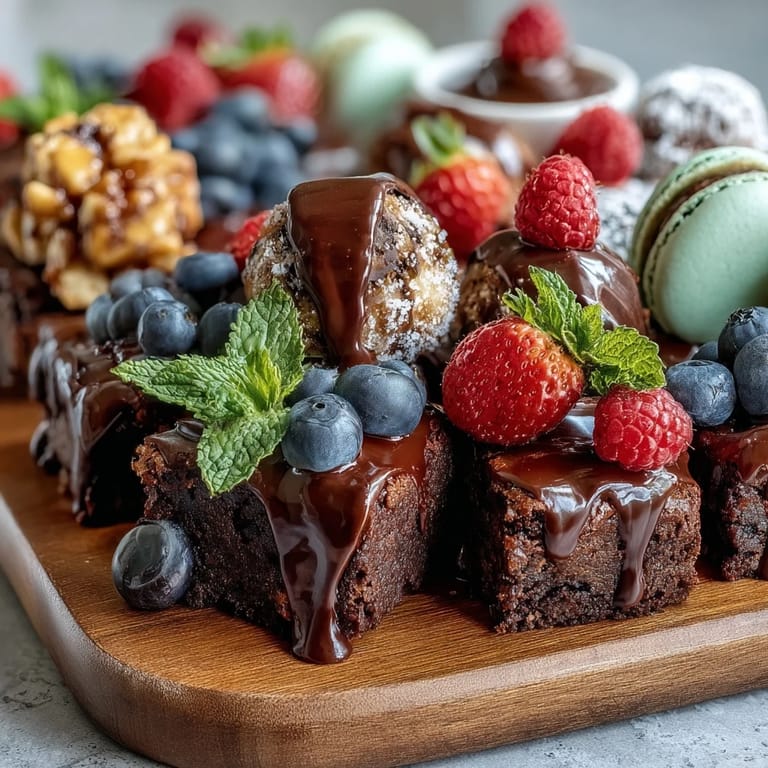
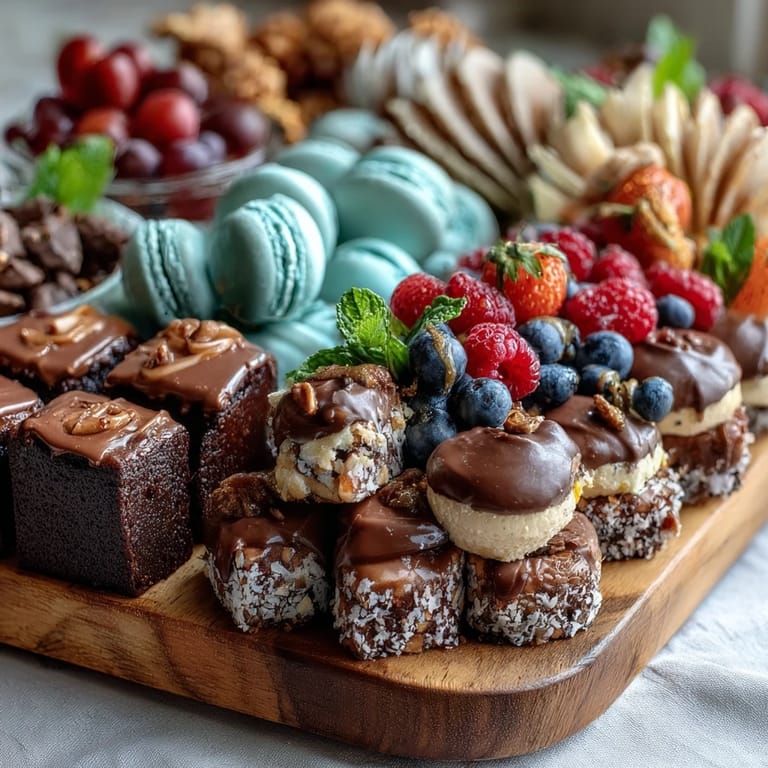
- Mini brownies (12): Fudgy or cake-like, these anchor the board with rich, dark color and satisfy the chocolate lovers without overwhelming the palate.
- Mini lemon bars (12): Bright and tart, they cut through sweetness and add visual contrast with their golden-yellow centers.
- Chocolate truffles (12): These are your elegance—buy good ones if you can, as they feel like a luxury even in miniature form.
- Mini fruit tarts (12): The jewels of the board; their glossy fruit tops catch light and add sophistication.
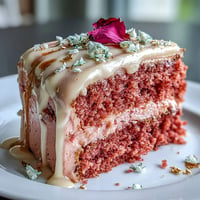
- Sheet cake, sliced thin (12 slices): Vanilla hides nothing, chocolate feels indulgent, and funfetti screams celebration—pick the flavor that matches the vibe.
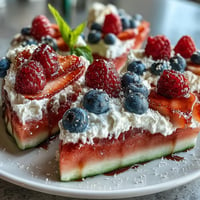
- Strawberries (1 cup, halved): Red is essential for visual pop and pairs with almost everything on the board.
- Blueberries (1 cup): Their round shape fills awkward gaps and adds jewel-tone depth.
- Raspberries (1 cup): Delicate and summery, they're the garnish that makes people think you fussed more than you did.
- Seedless grapes (1 cup): Reliable, refreshing, and they cluster beautifully to fill space.
- Assorted macarons (1/2 cup): These are optional but worth it—the colors and shapes add playfulness without tasting heavy.
- Mini meringues (1/2 cup): Crispy, light, and they come in endless colors for visual variety.
- Chocolate-covered pretzels (1/2 cup): Sweet and salty together; they're the unexpected texture that keeps people reaching back.
- Edible flowers (optional): Pansies, roses, or violas scattered last look magazine-worthy and taste floral without being weird.
- Fresh mint sprigs: A handful of green breaks up the sweetness visually and smells bright when people lean in to choose.
Tired of Takeout? 🥡
Get 10 meals you can make faster than delivery arrives. Seriously.
One email. No spam. Unsubscribe anytime.
Instructions
- Choose your canvas:
- Pick a wooden board, ceramic platter, or even a marble slab that feels sturdy and large enough that treats don't feel crowded. The surface matters—wood feels warm and natural, which is half the charm.
- Arrange the cake:
- Lay cake slices in a gentle fan or semi-circle on one side of the board, slightly overlapping so they look intentional but not rigid. This creates your anchor point and gives people an obvious starting place.
- Cluster the mini treats:
- Group the brownies, lemon bars, truffles, and fruit tarts in small pockets around the cake, mixing shapes and colors so the eye has something interesting to follow. Alternate dark and bright, smooth and textured as you go.
- Fill with fresh fruit:
- Scatter strawberry halves, blueberries, raspberries, and grapes into the gaps and around the board, letting them pool naturally rather than arranging each berry. This softness balances the structured treats.
- Add the playful layers:
- Sprinkle macarons, meringues, and chocolate-covered pretzels in loose clusters across the empty spaces, trusting that asymmetry looks more intentional than perfect rows. These are your texture variations.
- Finish with florals and herbs:
- Scatter edible flowers (if using) and fresh mint sprigs in the last quiet corners, tucking them so they frame the board rather than clutter it. Step back and look for any bare spots that feel lonely.
- Time your reveal:
- If the party is more than an hour away, cover the board loosely and refrigerate it. Pull it out twenty minutes before guests arrive so flavors warm up and colors look fresh rather than tired.
 Pin it
 At my cousin's party, I watched a five-year-old and a grandmother argue gently over the last macaron, and somehow that small moment made the whole thing feel less like a dessert board and more like a shared memory being made. Food arranged with care becomes something beyond calories—it becomes a small gesture of celebration.
Board Strategy and Layout
The secret to making a board feel abundant without looking chaotic is thinking in thirds: one third structured shapes (cake slices, brownies, tarts), one third fresh and bright (berries), and one third surprise elements (macarons, pretzels, flowers). This ratio feels intentional and gives the eye a satisfying rhythm. Start with your anchor (the cake fan) and build outward rather than filling randomly—it's easier to spot gaps when you work from a focal point.
Make-Ahead Magic
If you're assembling this more than a few hours early, think strategically about what touches what. Berries can sit uncovered if they're dry. Cake slices stay fresher covered loosely. Mini treats are forgiving, but anything with a soft filling (macarons, fruit tarts) should go on last because they absorb moisture over time. I learned this the hard way when a beautiful board deflated into sad cookies by dessert time.
Customizing for Your Crowd
The beauty of a board is flexibility—swap out treats based on what your guests actually eat and enjoy. Nut allergies? Skip the truffles and macarons, add more meringues. Gluten concerns? Build the board around fresh fruit and gluten-free treats you've sourced. Need it vegan? Whole Foods has better vegan chocolate, fruit tarts, and meringues than you'd expect. The real magic isn't the specific items; it's that you've created an option for everyone.
- Check ingredient labels on pre-made treats ahead of time so you can answer allergy questions confidently when someone asks.
- Arrange treats you're less confident about toward the edges so they're not the first thing people grab—people naturally reach for the center first.
- Keep a pretty small spoon or tongs nearby so people don't use their fingers on shared treats, even though many will anyway.
 Pin it
 A dessert board is less a recipe and more a permission slip to celebrate without stress. Make it, step back, and let it be the quiet focal point that makes people feel seen and celebrated.
Frequently Asked Questions
- → How do I arrange the items on the dessert board?
Start by placing cake slices in a fan shape on one side, then cluster mini brownies, lemon bars, truffles, and fruit tarts around them. Fill gaps with fresh berries and grapes, and scatter macarons, meringues, and pretzels for color and texture.
- → Can I customize the mini treats on the board?
Yes, feel free to swap mini treats based on guest preferences or dietary needs. Gluten-free and vegetarian options work well and keep the variety interesting.
- → What garnishes enhance the presentation?
Edible flowers and fresh mint sprigs add a festive and fresh touch, enhancing both appearance and aroma without overwhelming flavors.
- → Should the board be served chilled or room temperature?
Refrigerate until serving, then let it sit at room temperature for about 20 minutes to bring out optimal flavors and textures.
- → What tools are helpful for assembling the board?
A large wooden board or platter, a sharp knife for slicing the cake, and small serving tongs or spoons make assembly and serving easier and more elegant.