 Save
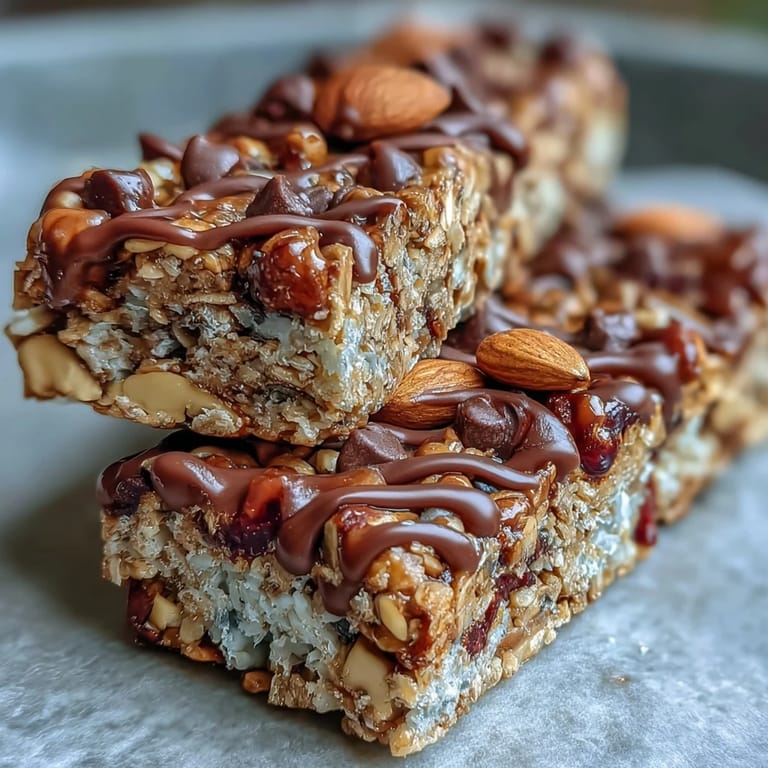
Save Last summer, I was packing for a camping trip when it hit me—I needed snacks that wouldn't melt in my backpack but would actually taste good. After rummaging through the pantry at midnight, I realized I had everything to make something better than store-bought bars, no oven required. That first batch turned out chewy, satisfying, and honestly addictive enough that I've made them constantly ever since. There's something magical about a no-bake recipe that comes together in minutes and tastes like you spent hours in the kitchen.
I made a triple batch for my son's school fundraiser bake sale, and watching kids choose these over traditional cookies was surprisingly emotional. Parents kept coming back asking for the recipe, and one mom texted me weeks later saying she'd made them with her daughter as a weekend project. That's when I realized these bars had become more than just a hiking snack—they were something people wanted to share and make their own.
Ingredients
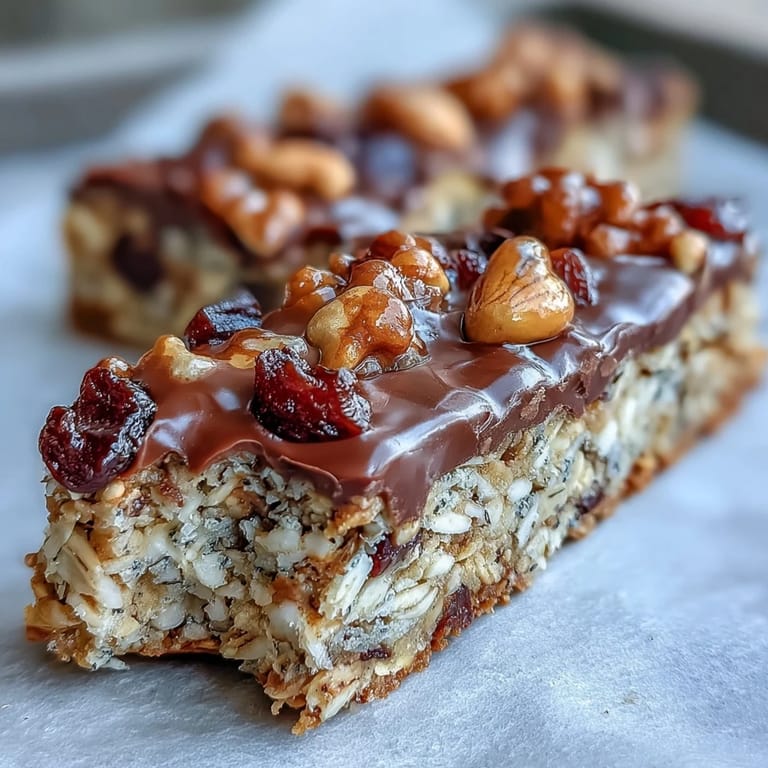
- Old-fashioned rolled oats (2 cups): The foundation that gives these bars their chewy texture and staying power—don't use instant oats or they'll turn mushy.
- Crisp rice cereal (1 cup): This adds a subtle crunch that keeps things interesting with each bite and prevents the bars from feeling too dense.
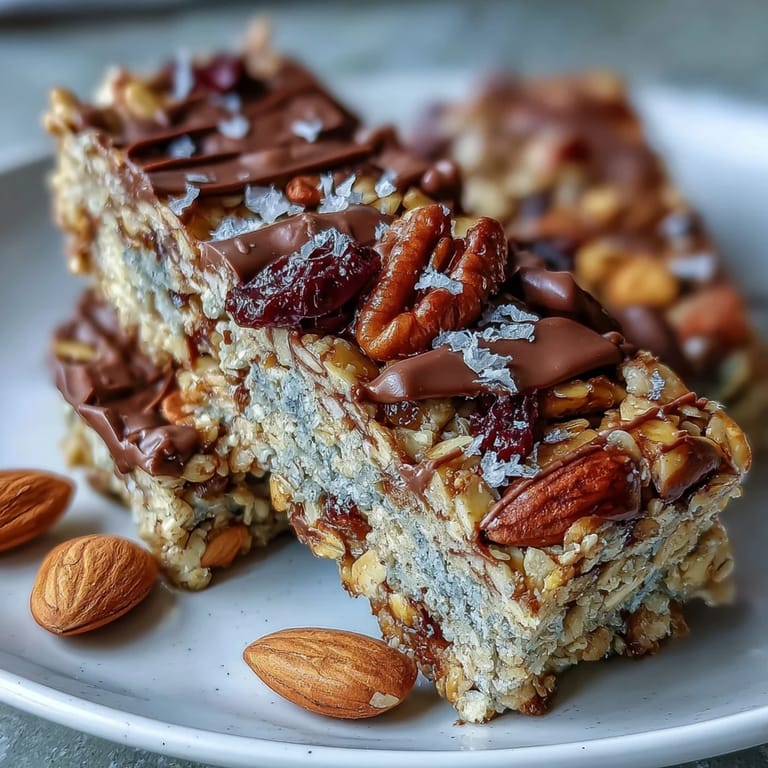
- Mixed nuts (1/2 cup chopped): Almonds, walnuts, or pecans all work beautifully; roughly chop them so you get texture without them being too chunky.
- Dried fruit (1/2 cup): Cranberries, raisins, and apricots provide natural sweetness and chewy pockets throughout—smaller pieces distribute more evenly.
- Unsweetened shredded coconut (1/4 cup, optional): If you use it, you're adding a light tropical flavor that somehow makes these feel more special.
- Salt (1/4 teaspoon): This tiny amount makes everything taste more like itself and balances the sweetness perfectly.
- Honey or maple syrup (1/2 cup): Honey gives a floral sweetness while maple syrup adds earthiness—either works depending on your mood.
- Peanut butter or almond butter (1/3 cup): The binding agent that holds everything together; creamy works best here for smooth mixing.
- Vanilla extract (1 teaspoon): A small splash that reminds your palate this isn't just a snack bar, it's intentional and thoughtful.
- Mini chocolate chips (1/4 cup, optional): Add these at the right moment so they stay distinct rather than melting into everything.
- Chia seeds or flaxseed meal (1 tablespoon, optional): A quiet upgrade that adds nutrition and a subtle nutty note without changing the character of the bars.
Tired of Takeout? 🥡
Get 10 meals you can make faster than delivery arrives. Seriously.
One email. No spam. Unsubscribe anytime.
Instructions
- Prepare your workspace:
- Line your 8-inch square pan with parchment paper, letting the edges hang over the sides—this is your safety net for getting the bars out cleanly. Trust me, taking this thirty seconds saves you from frustration later.
- Combine the dry ingredients:
- In a large bowl, toss together the oats, rice cereal, chopped nuts, dried fruit, coconut if using it, and salt. Give everything a thorough stir so the fruit and nuts are evenly distributed throughout.
- Warm the binder:
- Set a small saucepan over low heat and add your honey and nut butter together. Stir constantly for about 2 to 3 minutes until the mixture flows like warm caramel and smells absolutely incredible. Remove it from heat and immediately stir in the vanilla.
- Bring it all together:
- Pour the warm wet ingredients over the dry mixture and fold everything together with a spatula or wooden spoon until every oat and nut is coated and glistening. This is where the magic happens—watch it transform from separate components into something unified.
- Add the chocolate moment:
- If you're using chocolate chips, wait 2 to 3 minutes for the mixture to cool slightly so the chips stay as distinct little pockets rather than disappearing into the warm base. Gently fold them in so they stay whole.
- Press into the pan:
- Transfer everything to your parchment-lined pan and use the back of a measuring cup or a spatula to press down firmly and evenly. You want density here—this compression is what makes them chewy rather than crumbly.
- Top it off:
- If you'd like extra texture on top, sprinkle more chocolate chips or nuts over the surface and press them in gently so they stick. This is purely cosmetic but makes them feel fancy.
- Chill and set:
- Cover the pan loosely and refrigerate for at least 1 hour until the mixture is firm enough to cut cleanly. I often leave mine overnight because I love the extra firmness.
- Cut and store:
- Use the parchment overhang to lift the whole block out of the pan, then cut into 12 bars with a sharp knife, wiping the blade between cuts for clean edges. Keep them in an airtight container in the refrigerator where they'll stay perfect for up to a week.
 Pin it
 One afternoon my partner brought these to a work potluck and came home saying his whole department wanted to know where they were from. When I told him I'd made them, he got this proud look that reminded me why I love cooking—it's not really about the food, it's about making someone's ordinary day slightly better. These bars do that every single time.
Flavor Combinations That Work
The beauty of this recipe is that it's endlessly adaptable depending on what you're craving. I've made autumn versions with pumpkin seeds and dried cranberries, tropical versions with coconut and dried mango, and winter versions with dried cherries and dark chocolate. The ratio stays the same but the personality changes completely—after the first batch, you'll instinctively know what swaps will work based on your pantry and mood.
Making Them Nut-Free and Allergy-Friendly
If nuts are a concern, sunflower seed butter or tahini work beautifully as the binding agent and bring their own subtle flavors to the party. For a completely nut-free version, you can use seeds instead of chopped nuts—sunflower seeds, pumpkin seeds, or hemp seeds all add texture and nutrition without the allergen worry. The bars never lose their charm; they just become a different, equally delicious version of themselves.
Storage and Longevity
These bars are built to travel and last, which is honestly why they've become my go-to snack. Keep them in an airtight container in the refrigerator and they stay perfectly chewy for a full week, which somehow feels like a miracle in a world of snacks that go stale. If you're meal prepping or want to have them on hand for unexpected hunger, you can make a double batch and freeze half in another airtight container for up to three weeks.
- Always keep them in the coldest part of your fridge—they firm up slightly in cooler temps, which actually improves the texture.
- If they get a bit soft during warm weather, ten minutes in the freezer brings back that satisfying chew without any hardness.
- Parchment paper between layers in your container prevents them from sticking to each other if you're stacking them.
 Pin it
 Every time I pack these into a backpack or lunchbox, I'm reminded that the best recipes are the ones that become part of your life rather than just something you make once. These bars have earned that spot in my rotation, and I think they'll earn it in yours too.
Frequently Asked Questions
- → What is the best way to press the bars into the pan?
Use a spatula or the back of a flat-bottomed cup to firmly and evenly press the mixture into the lined pan, ensuring good compaction for easy cutting.
- → Can I substitute the nuts for allergy reasons?
Yes, sunflower seed butter can replace peanut butter, and you can omit nuts or use seeds like chia or flaxseed to keep a similar texture.
- → How long do the bars stay fresh?
Stored in an airtight container in the refrigerator, these bars last up to 1 week while maintaining freshness.
- → Is it possible to make these bars vegan?
Simply swap honey for maple syrup and choose dairy-free chocolate chips to keep the bars vegan-friendly.
- → Can I add spices to the mix?
Absolutely, adding cinnamon or cardamom enhances flavor and provides warm spice notes to the bars.